🎁 Packages
₿ Bitcoin Core
Full bitcoin node. Pruned by default.
Enabled unless an external full node is configured.
Fast sync
To enable fast-sync, set TRUSTED_FASTSYNC=1. This will download a recent pruned datadir snapshot from prunednode.today and start syncing from that instead of from scratch.

This can get your node synced up 5-60 minutes, but requires ⚠ trusting the distributor of the snapshot. A malicious distributor could feed you with invalid chain history and lead you to accept fake coins. Please consider waiting some more for a full sync to avoid taking this risk.
A fast-synced node is not able to scan for historical wallet transactions and can therefore only be used with newly created wallets.
prunednode.today is maintained by the Specter Desktop team and signed by Stepan Snigirev.
You'll need 10G of free space during the setup to store both the snapshot
.zipfile and the files extracted from it. It will shrink down to <5GB when the process completes.
Using existing full node
Expand instructions...
If you already have a Bitcoin Core instance running on the same machine, you can connect eznode to it using cookie authentication by mounting the datadir into /bitcoin:
docker run -v ~/.bitcoin:/bitcoin:ro -it ... eznode/eznode
On Linux, you'll also need to add
--add-host host.docker.internal:host-gatewayto make the host's address discoverable from within the container. On Windows, change~/.bitcointo$env:AppData\Bitcoin.
Instructions for modifying bitcoind's rpcbind/rpcallowip config will be shown on startup. If you're running into trouble with Docker's virtual networking, you can try with --net host (this should ideally be avoided).
If your node is running remotely, you can configure its URL and RPC credentials with BITCOIND_URL=http://my-bitcoind-server:8332/ BITCOIND_AUTH=satoshi:mySecretPassword.
Accessing managed full node
Expand instructions...
To issue RPC commands against eznode's managed Bitcoin Core instance, use docker exec ez bitcoin-cli <command> (see Node management) or the web RPC console available in BTC RPC Explorer (public demo).
To connect to the Bitcoin Core RPC from your host, set BITCOIND_RPC_ACCESS=<user:pwd> to open the RPC server for external access using password-based authentication.
On macOS/Windows, you'll also need to publish the RPC port with -p 127.0.0.1:8332:8332 to make it available through localhost. On Linux you can access it directly through the container's IP address or using the ez alias (see Connecting Locally).
If you'd like to access the RPC remotely, set BITCOIND_RPC_ONION to expose it through an onion service or setup an SSH tunnel.
Options for managed full node
PRUNE=550(prune size, set to0to disable pruning)PRUNE_UNTIL=<off>(keep blocks after the given height/date)TXINDEX=0(enable txindex, requires pruning to be disabled)BITCOIND_LISTEN=0(accept incoming connections on the bitcoin p2p network)BITCOIND_TOR=0(connect to the bitcoin network through tor)BITCOIND_RPC_ACCESS(expose the bitcoind rpc with password-based auth)BITCOIND_RPC_ONION=0(expose the bitcoind rpc over onion)BITCOIND_OPTS=<none>(custom cli options for bitcoind)BITCOIND_LOGS=0(display bitcoind's logs in thedocker runoutput)
A config file may also be provided at /data/bitcoin/bitcoin.conf, but the options above will take priority over it.
Options for fast-sync
TRUSTED_FASTSYNC=0(enable fast-sync)FASTSYNC_PARALLEL=N(download usingNparallel connections)
Paths
/bitcoin(mount the bitcoind datadir from the host to enable cookie authentication)/data/bitcoin(managed bitcoind data directory)
Ports
8332/18332/38332/18443(RPC)8333/18333/38333/18444(P2P)
(mainnet/testnet/signet/regtest)
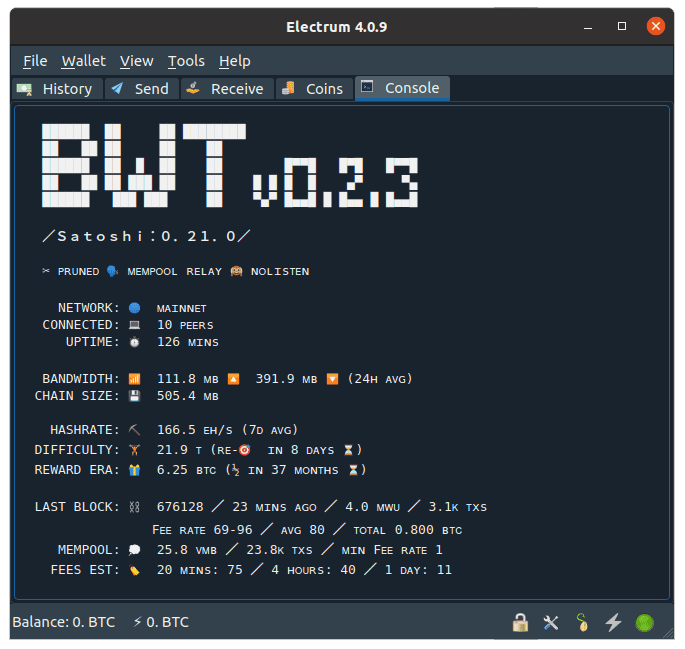
🔍 Bitcoin Wallet Tracker
Bitcoin Wallet Tracker is a personal wallet tracker that watches your wallet's activity, available as an Electrum RPC server and a descriptor-based HTTP API. It works similarly to EPS.
BWT keeps an index of your wallet transactions only. To make your wallet activity available, you'll need to configure your XPUBs/DESCRIPTORs (use XPUB_*/DESC_* if you have multiple, e.g. XPUB_1 or DESC_CHANGE).
With pruning enabled (the default), starting with a new wallet is the easiest. A new wallet is also recommended for privacy reasons if your addresses were previously exposed to public Electrum servers. To use an existing wallet, refer to the instructions here.
Electrum wallet setup
Expand instructions...
If you're creating a new wallet, make sure you don't connect to public servers while doing it to avoid exposing your addresses. You can start Electrum with --offline to ensure that.
Grab your xpub from Wallet > Information and add it to your config file (~/eznode/config) as a new line with XPUB=<my-xpub>.
Restart eznode, wait for BWT to start up and run electrum $(docker exec ez electrum-args) to start Electrum and connect it with your local node. Or you can do this manually:
electrum --oneserver --server ez:50001:t --skipmerklecheck
If you don't have the
ezhostname set up, replaceezwith the container's IP address (shown on startup) on Linux or with127.0.0.1on macOS/Windows (electrum-argsdoes this automatically).
To configure Electrum to use eznode by default, run docker exec ez electrum-cfg | sh -x. This will issue electrum setconfig commands (you can run without | sh to see them).
You may also configure Electrum through the GUI, by setting the server address to ez:50001:t (or 127.0.0.1:50001:t on macOS/Windows). However, setting oneserver and skipmerklecheck is not possible using the GUI, and the latter is required if pruning is enabled (the default).
If you're connecting remotely, you'll need to setup Tor Onion or an SSH tunnel for secure access.
Electrum wallet setup - with the BWT plugin
Expand instructions...
Alternatively, you can also setup Electrum desktop to connect with eznode using the BWT Electrum plugin. The plugin will run a separate BWT instance that connects directly to Bitcoin Core and automatically detects your wallet(s) xpub(s).
Open RPC access to Bitcoin Core by setting BITCOIND_RPC_ACCESS=<user:pwd>, then follow the instructions here to setup the plugin.
Options
BWT=1(enabled by default, set to0to turn off)XPUB/XPUB_*(xpubs/ypubs/zpubs to track)DESCRIPTOR/DESCRIPTOR_*/DESC_*(script descriptors to track)RESCAN_SINCE=now(date to begin rescanning for historical wallet transactions inYYYY-MM-DDformat. rescan is disabled by default.)BITCOIND_WALLET=ez-bwt(bitcoind wallet to use)GAP_LIMIT=300(the gap limit for tracking derived addresses)FORCE_RESCAN=0(force rescanning for historical transactions, even if the addresses were already previously imported)HTTP_CORS=<none>(allowed cross-origins for the http api server)WEBHOOK_URLS=<none>(URLs to notify with real-time wallet events)AUTH_TOKEN=<none>(enable authentication with the specified token)BWT_LOGS=1(display bwt's logs in thedocker runoutput)
The full list of BWT's config options is available here.
Ports
50001(Electrum RPC)3060(HTTP API)
Paths
/data/track-addresses.txt(optional file with standalone addresses to track)
🗺️ BTC RPC Explorer
BTC RPC Explorer is a block explorer and node dashboard with an RPC console, statistics and graphs, status page, peers overview and more.
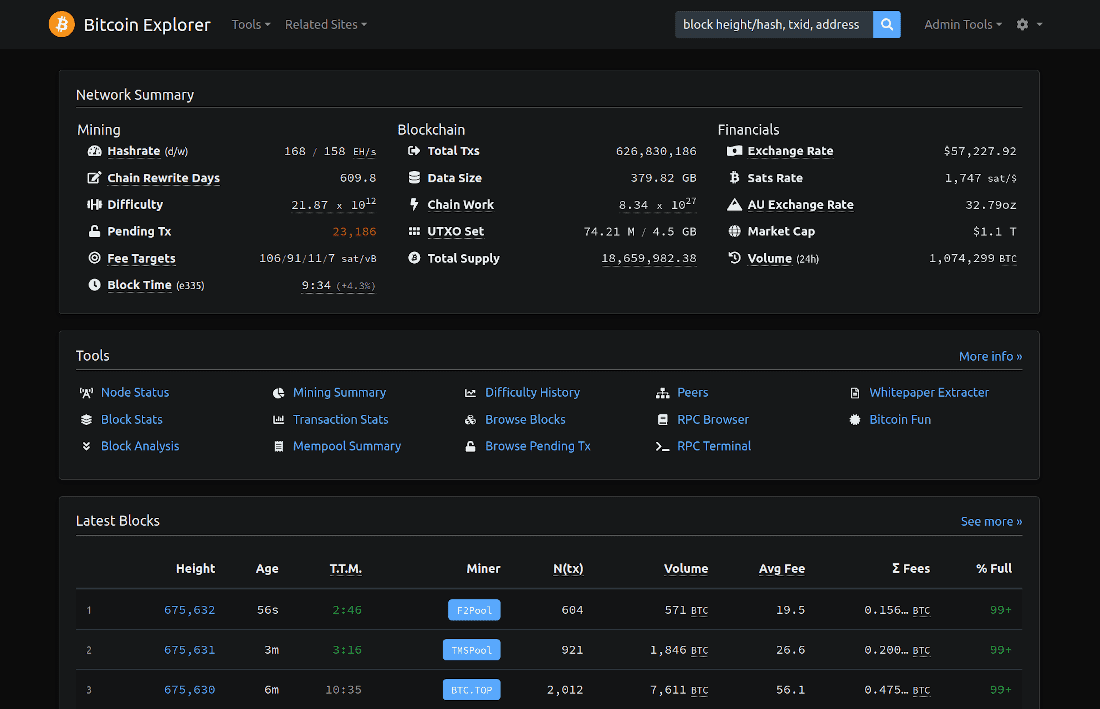
Enabled by default, can be accessed using a web browser (e.g. http://ez:3002 if the ez host alias is setup).
Automatically connects with the BWT Electrum server, to enable exploration of your wallet addresses (but not of arbitrary addresses).
Pruning support
When pruning is enabled or if txindex is disabled (the default), some functionality will be limited:
- Pruned blocks will display basic header information, without the list of transactions.
- Transactions in pruned blocks will not be available, unless they're wallet-related.
- The address and amount of previous transaction outputs will not be shown, only the
txid:vout. - Mining fees will only be shown for unconfirmed transactions.
- You will only be able to search for wallet, mempool and recently confirmed transactions by their
txid. Searching for non-wallet transactions that were confirmed over 3 blocks ago is only possible if you provide the confirmed block height in addition to thetxid, using<txid>@<height>in the search box.
To enable full block explorer functionality, set PRUNE=0 TXINDEX=1.
Options
EXPLORER=1(enabled by default, set to0to turn off)EXPLORER_LOGS=0(display btc-rpc-explorer's logs in thedocker runoutput)AUTH_TOKEN=<none>(alias forBTCEXP_BASIC_AUTH_PASSWORD)
Plus all of btc-rpc-explorer's options.
Ports
3002
👻 Specter Desktop
Specter Desktop is a wallet GUI for Bitcoin Core with a focus on hardware and multi-sig setups.
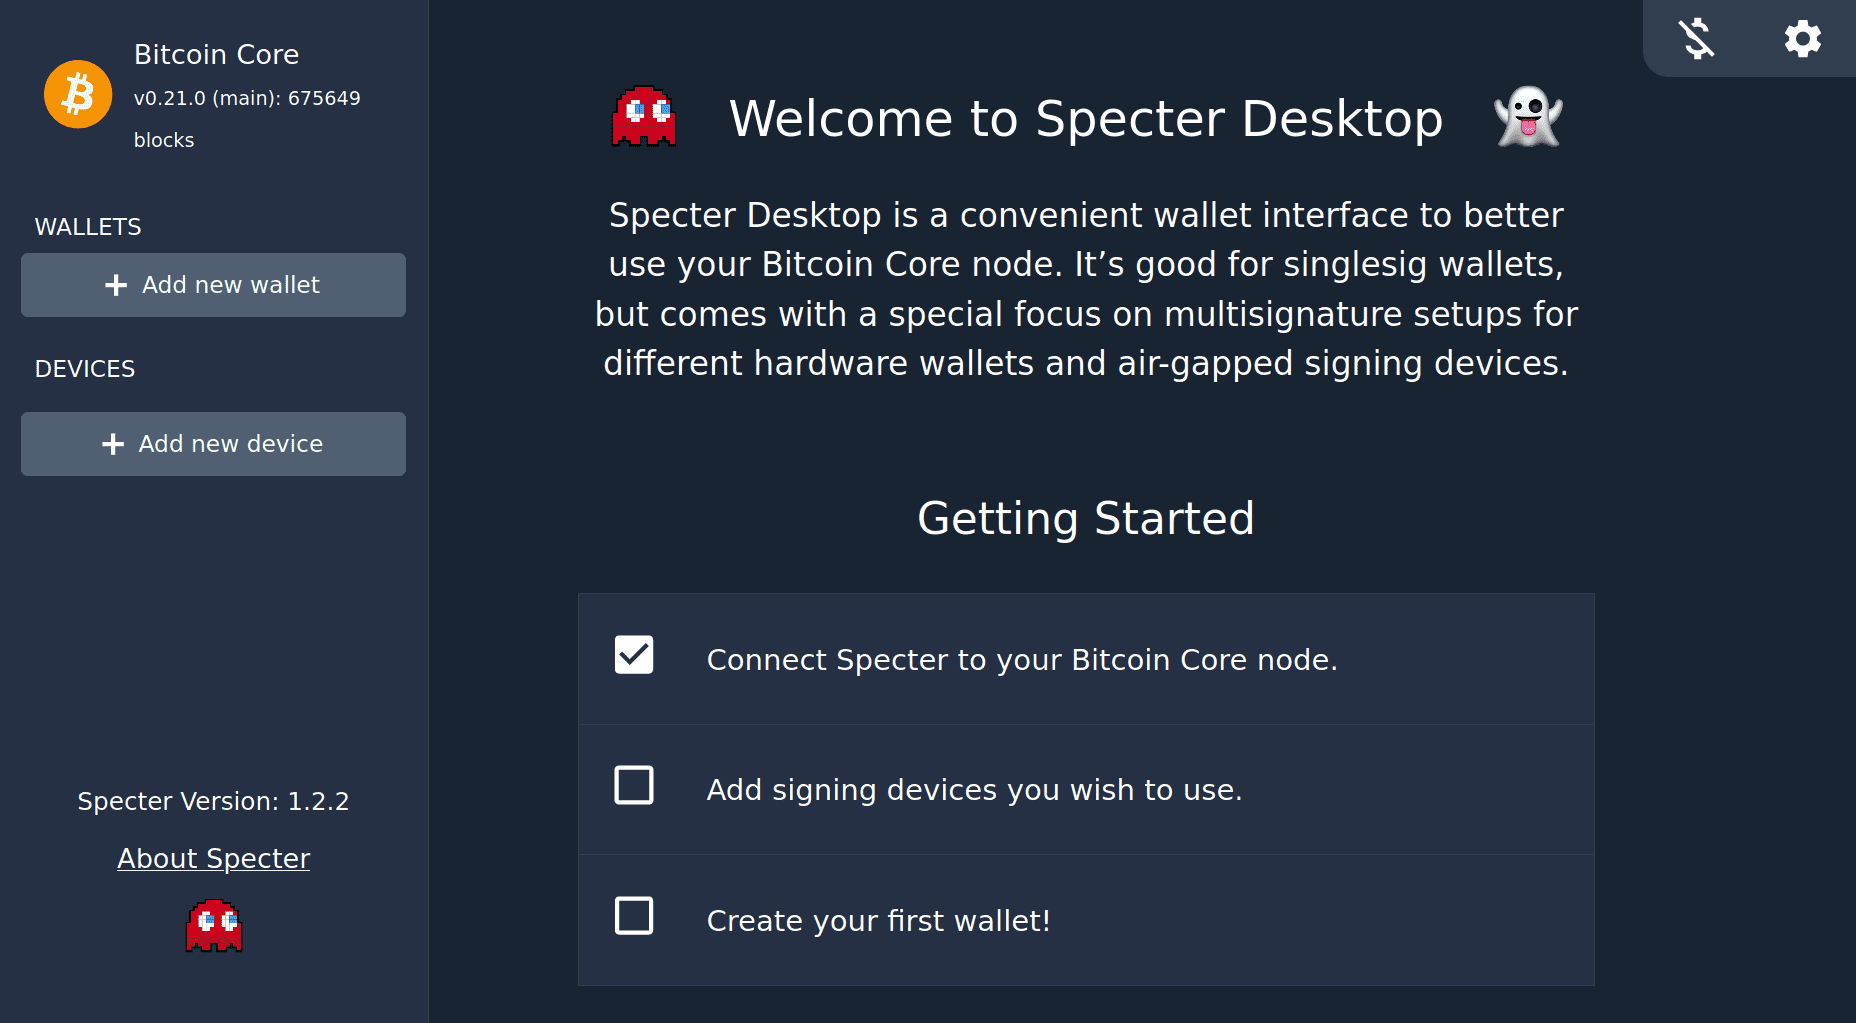
Set SPECTER=1 to enable and access using a web browser (e.g. http://ez:25441 if the ez host alias is setup).
For your security, using a separate browser profile without extensions is highly recommended.
Using Specter with USB hardware wallets requires setting up udev rules on the host and starting docker with --device /dev/<usb-device-id>. If you're unsure what the device id is, you could also (less ideally) use --privileged -v /dev:/dev to give the container full access to all host devices.
Options
SPECTER=0(disabled by default, set to1to enable)SPECTER_LOGS=0(display spectr's logs in thedocker runoutput)AUTH_TOKEN=<none>(sets the password for the admin account)
Additional configuration options are available through Specter's web interface.
Paths
/data/specter(wallets, devices and other configuration)
Ports
25441